Model Magic Food · Art Projects for Kids
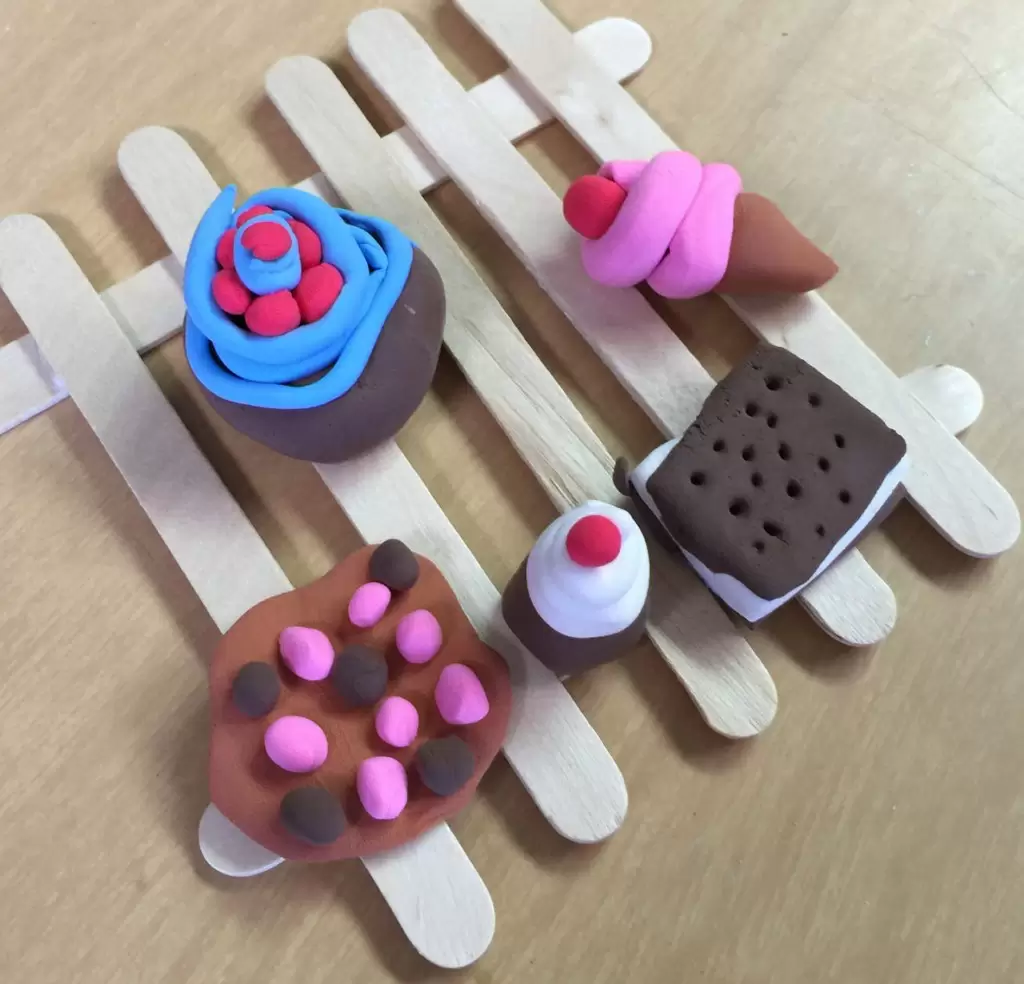
Once you showtime looking for Model Magic ideas, you'll encounter why cupcakes were a topic I came back to again and over again. Save this 1 for Mother'south Solar day, or some other issue that calls for a special projection.
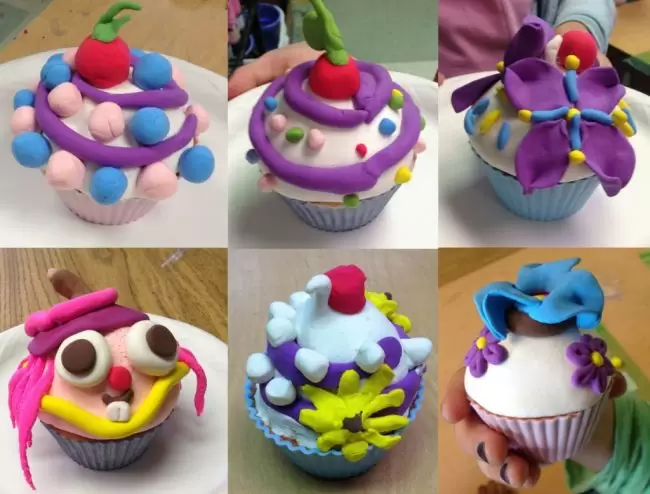
To brand your Model Magic stretch every bit far as possible, have students make hollow cupcakes.
This is done by forming a bowl for the cake part, and then another upside down basin for the frosting. Information technology's besides practiced practice for them if they go on to work with clay. Many ceramic projects begin with making a pinch pot in this same fashion.
Note: Be prepared to give up a silicone cupcake liner for this project. I had hoped that the Model Magic could safely be removed at the end of form, but no such luck. The two were seriously stuck together. In the end, I decided it was worth information technology as the flexibility of the liner was needed as students worked. Any newspaper version would have lost its shape and torn from having things pressed inside.
MATERIALS
- Silicone cupcake liner*
- Model Magic*
DIRECTIONS
- Every educatee got a silicone cupcake holder, and filled it with a picayune bowl of Model Magic.
- Students chose from some very yummy looking Model Magic colors to make their cupcake tops using white or pink. They formed a basin and placed it on the cupcake bottom.
- Extra colors were used to course decorations: ruby-red, xanthous, blue, purple and more. To make green stems on the cherries, yellow and bluish had to be mixed together. I think I have some future pastry chefs in my class.
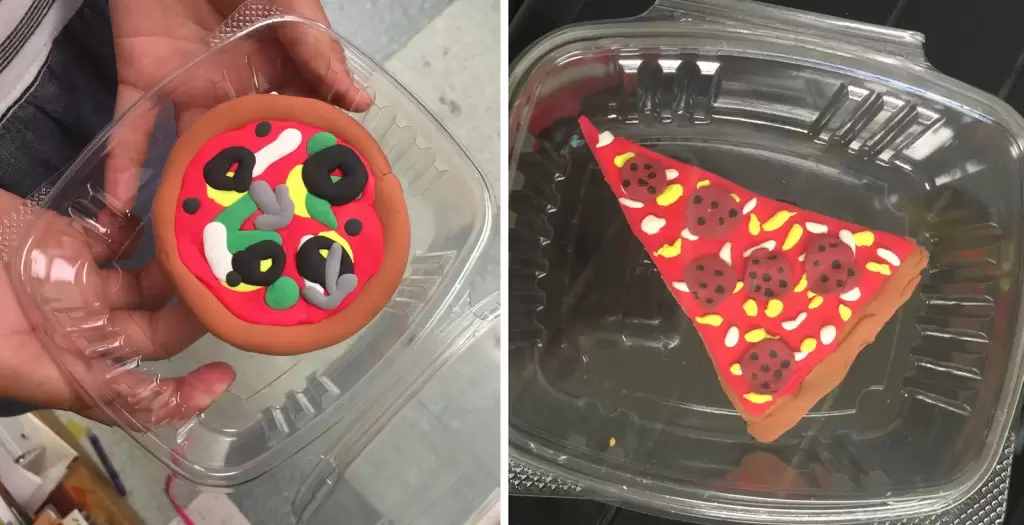
Model Magic Pizza
My after school Model Magic form continues to exist my most popular. My students made these much in the same way y'all would make a real pizza: crust, then sauce, then veggies, meat and cheese.
Model Magic Burger
Make a pretty realistic looking burger with all the ready fabricated Model Magic colors that are currently available.
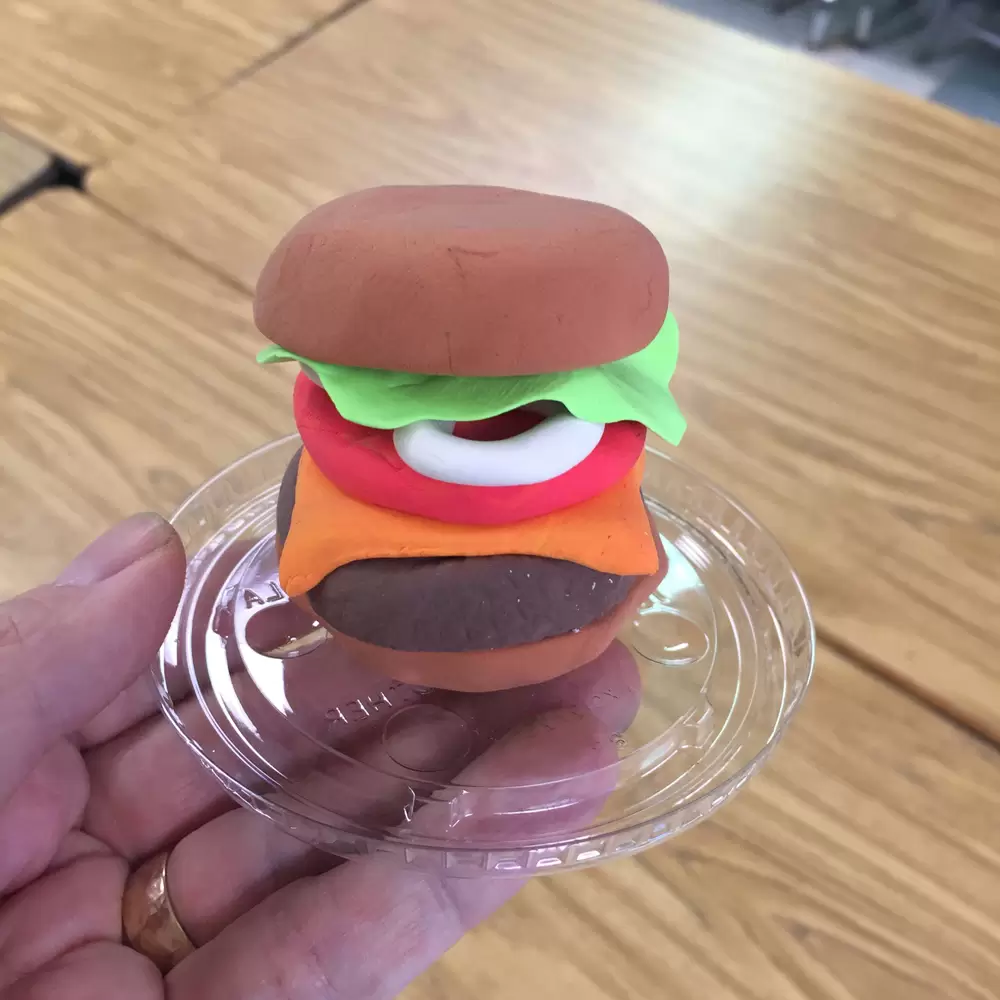
Your super stacked burger with cheese, tomato, onion, lettuce and whatsoever else you can call back can get on the burger of your dreams.
MATERIALS
• Model Magic, assorted colors
• Plastic cup with lid, 12 oz.
DIRECTIONS
1. Class buns, hamburger, cheese, tomato, onion rings and lettuce from Model Magic.
2. Place on plastic lid and cover with cup.
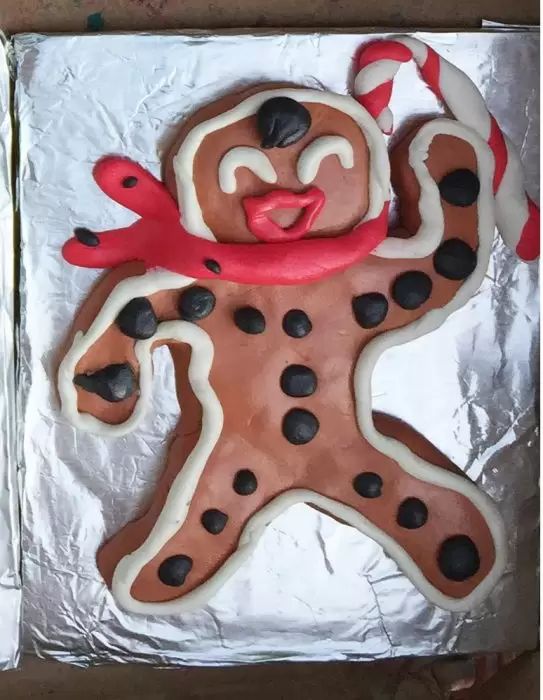
Model Magic Gingerbread Cookies
I've found that if you want to requite your Model Magic creations a bit of a longer life, spray them with a clear gloss when finished. Information technology does make the colour last longer, not forever, but at to the lowest degree a few weeks or so. I always tell my parents that if they really dearest what their kids accept made with Model Magic, they should take a photo to capture it in it's prime condition.
MATERIALS
- Corrugated cardboard or chipboard
- Aluminum foil, cut in rectangles larger than the cardboard
- Gum Stick
- Model Magic in brown, ruby, white and black
DIRECTIONS
- PREP: Cut the cardboard into the size you desire. Mine are about 3″ x 5″.
- Students attach aluminum foil to the cardboard with a gum stick.
- The gingerbread body is made and pressed on to the tray.
- Decorations are made with white, scarlet and black Model Magic. A white "string" around the outside edge will wait a lot like frosting.
- Spray the gingerbread art with a glossy sealer when finished to continue it from drying out.
Model Magic Pies
MATERIALS
• viii oz. or then clear plastic cup
• Scissors
• Model Magic, contrasted colors
• Clear sealer
DIRECTIONS
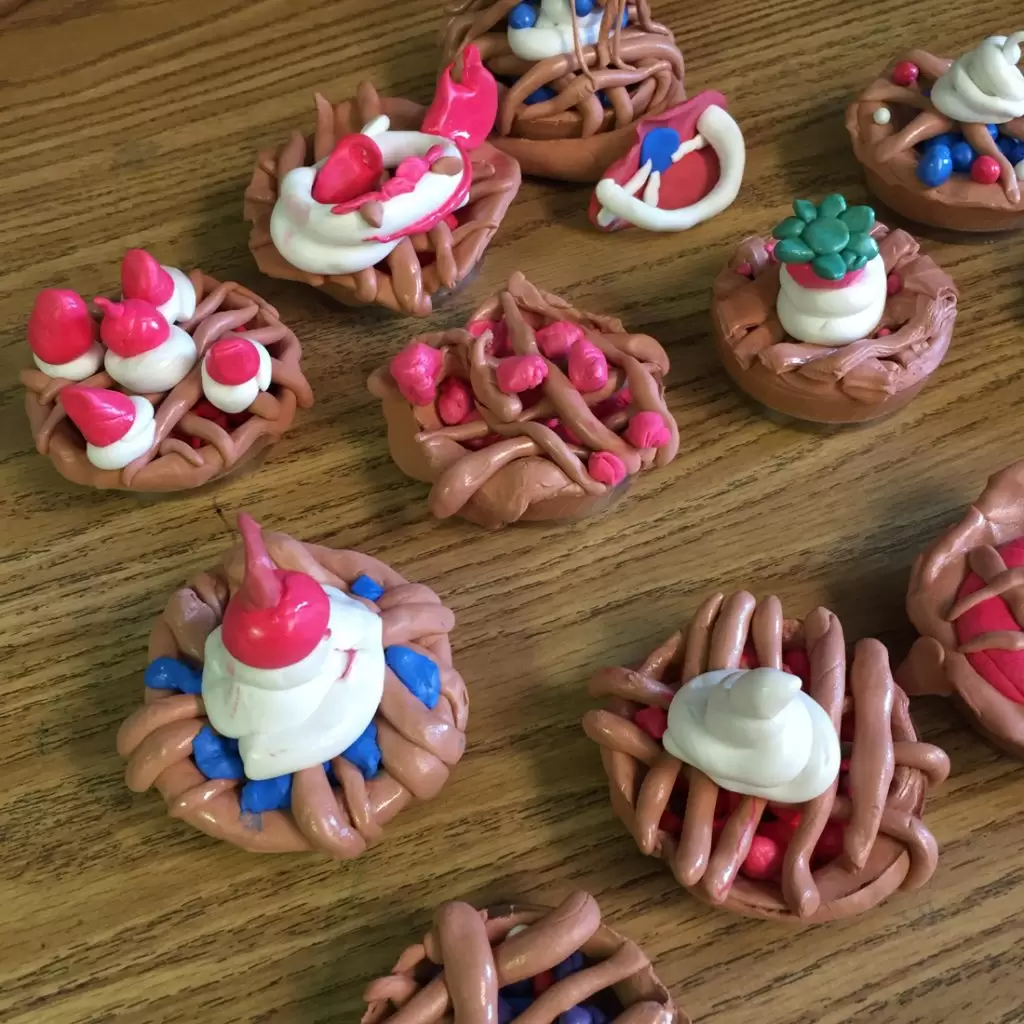
1. Students mixed even amounts of bisque and terracotta colored Model Magic to make a nice golden colored crust. A round ball was shaped so pressed on the table to make a flat circle about iv″ wide.
2. The "pastry" was pressed into a very trimmed downwardly clear plastic cup that had just about 1/ii″ side to information technology. The extra was trimmed with a pair of scissors.
3. Students rolled very modest balls, or berries, out of red or blue Model Magic and filled their pies.
iv. The extra crust was rolled and / or cut to make the lattice work on meridian.
6. White "whipped cream" was added on top every bit desired. Cherries on top added extra bits of lovely color.
seven. I sprayed the creations with sealer spray. It keeps the art from great for awhile, and adds a bit of a polish as well.
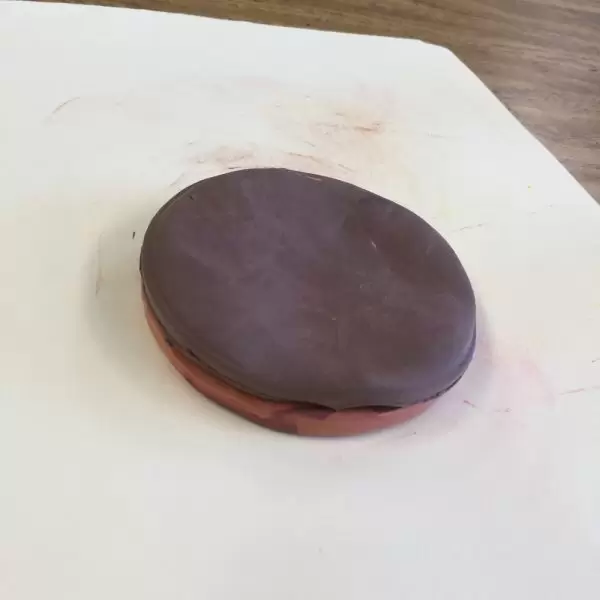
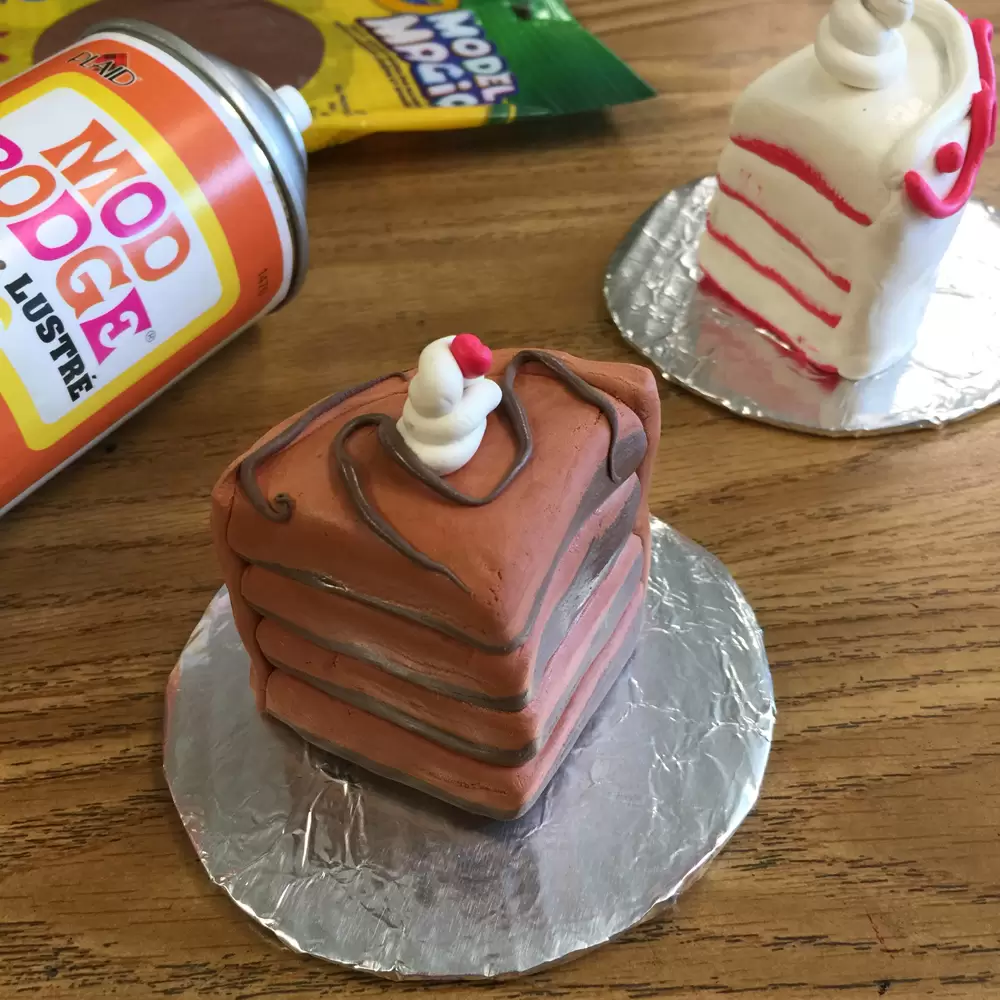
Model Magic Cake
3D art projects for kids are easy, if you beginning with Crayola's Model Magic. They make natural colors that expect just similar chocolate and caramel. You can fifty-fifty use math for this projection when circles are cut into quarters.

MATERIALS
• Model Magic, naturals
• Model Magic, contrasted colors
• Manila folder, or similar heavy newspaper
• Sometime yogurt container
• Utility scissors
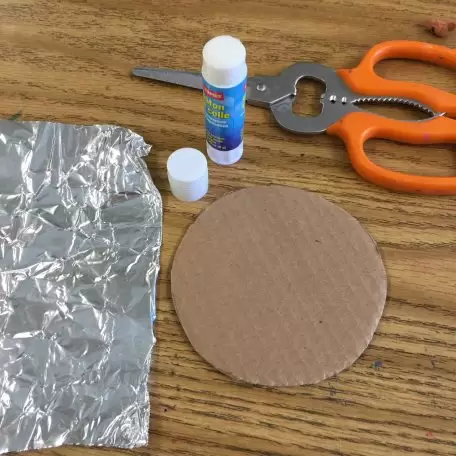
• Corrugated cardboard
• Aluminum foil
• Gum stick
• Mod Podge Spray
DIRECTIONS
Fourth dimension needed:1 60 minutes.
How to make a Model Magic Cake
- Trim the edge from a yogurt container.
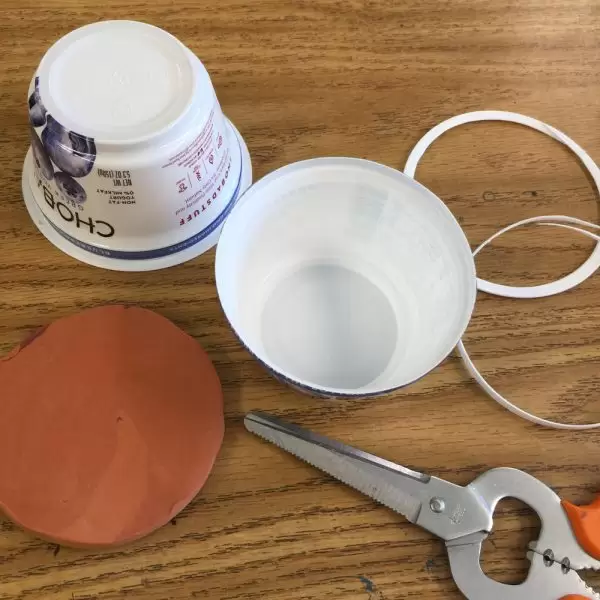
- Utilize the container to make a circle. Make 1 of each colour.
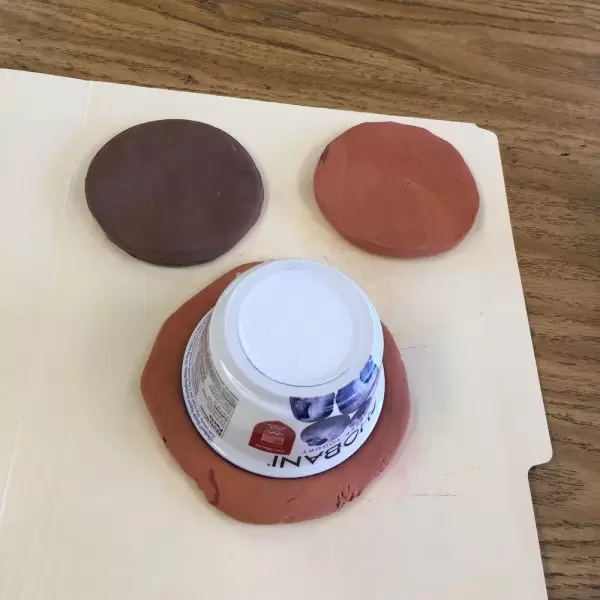
- Stack the two circles on peak of each other.
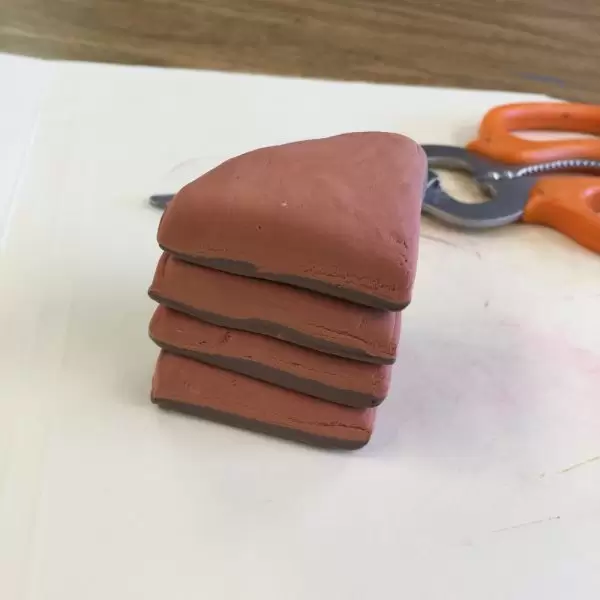
- Cutting the circles into quarters (math problem!).

- Stack all the quarters together.
- Pat some other pancake and place the quarters on height
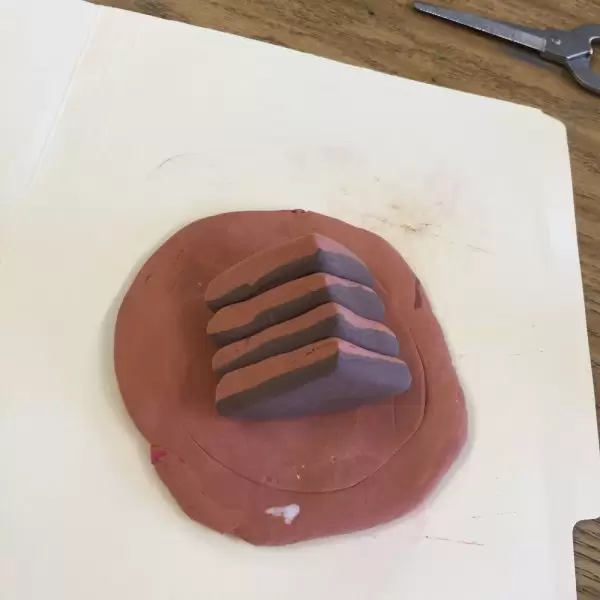
- Trim off the excess around all the sides.

- Cut a circumvolve from a sheet of corrugated cardboard. Glue and comprehend.
- Add together whipped cream, cherry, drizzle and more.
Source: https://artprojectsforkids.org/model-magic-cupcakes/
Post a Comment for "Model Magic Food · Art Projects for Kids"